Set up your team
For ownersHow to get email and web chat into the workspace, invite people, pick their roles, and write the team descriptions Agent Stacks route on.
Settings
Email
Your workspace address, and the two ways to use your own.
Your Atender Email Address
This address is ready to use right away for sending and receiving emails.
support@nordcharge.…Copy
Ready to send and receive
Option 1: Forward emails (easiest)
In your email provider, set up forwarding from your address (e.g. support@yourcompany.com) to your Atender address:
Click here, then use your keyboard
Settings, with your own address already in it. Four keys do the whole lesson.
Step 1 of 13
Copy your Atender address
The button is already focused.
Now for real
You need the Owner or Team Lead role for this. Both pages are already there in your workspace, with the address and the widget provisioned.
Email
Your Atender address
Settings → Email → Your Atender Email Address
Web chat
Your test page
Settings → Web Chat → your widget → Installation → Open Test Page
The five roles
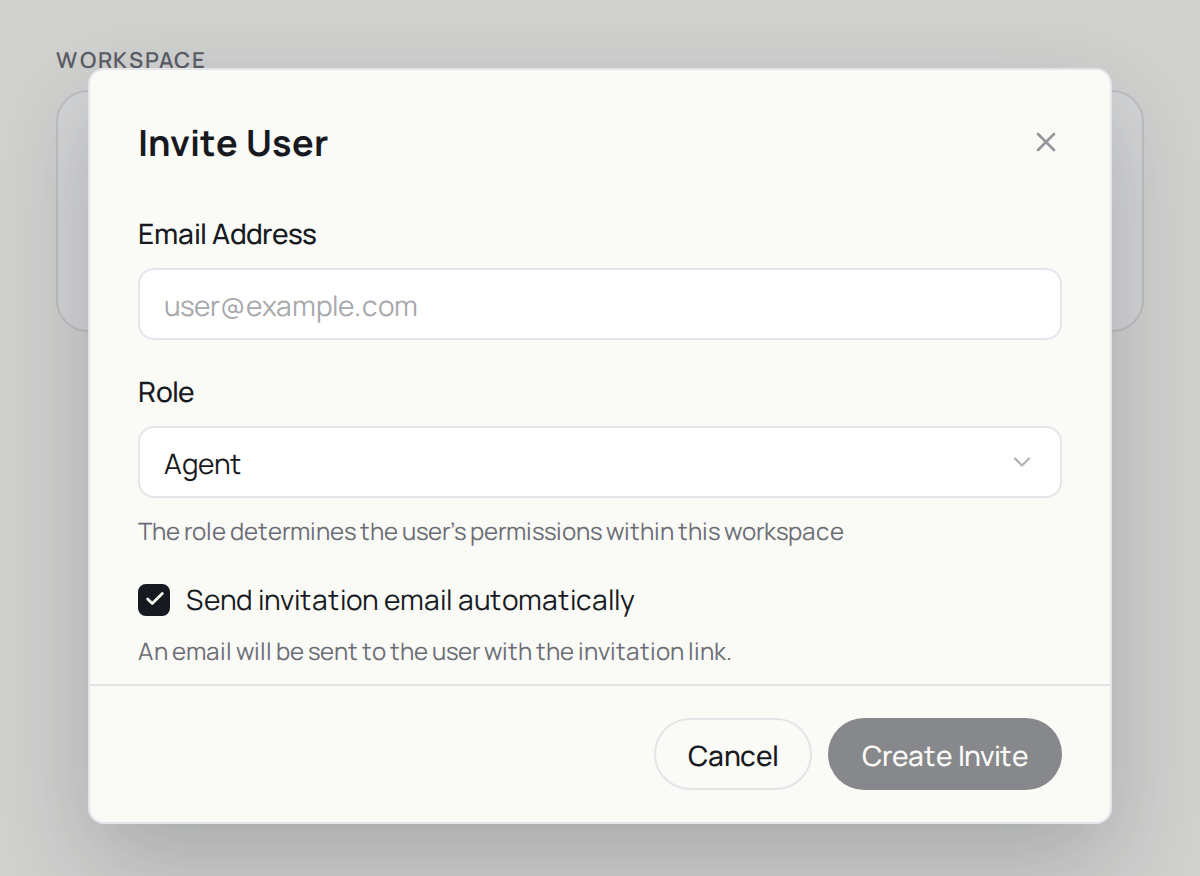
- Owner— full access to all features including billing and user management.
- Team Lead— manage team members, view analytics, and handle conversations.
- Agent— handle conversations, manage contacts, and access personal settings.
- Reader— view conversations and add internal notes, but cannot reply to customers.
- Analytics— access to analytics dashboard and reports only.
An invite with no role set is an Agent, and the link works for seven days.
The product says
“Describe what this team handles. Agent Stacks use this to decide when to route conversations to this team.”
Do it now
Forward one support address to your Atender address — "Option 1: Forward emails (easiest)".